Reflections from ISTE 2018 and a Bit of Google Awesomeness

While I am still trying to gather my thoughts, explore some new resources, and figure out what activities and resources will fit in my classroom, I didn't want to wait to reflect on my experience.

The Conference was literally huge. There was a record number of attendees and sessions. Some people even thought it was too big. For me, the size meant more opportunities to connect with my PLN. My favorite part of ISTE is meeting with my PLN friends and connecting with new educators face to face. The conversations in the Poster Sessions, in the Playgrounds, and during the Social Gatherings also helped to make a big conference seem much smaller.

The lines for sessions were long. Many sessions quickly filled up and had to turn educators away. While this was frustrating at times, I was able to have some great conversations while waiting in line or outside of a session I just couldn’t get into. The missed sessions were also an opportunity to spend a bit more time in the Playgrounds, Posters, and Expo Center. These added up to some great learning experiences outside of the sessions.

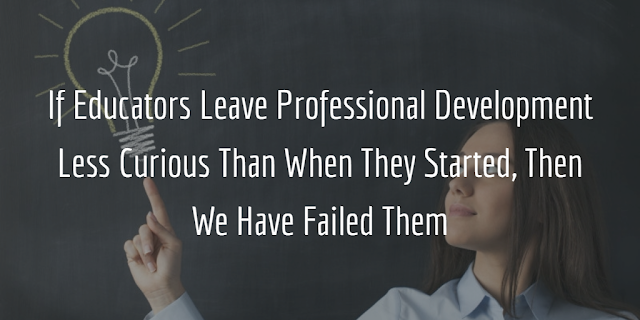
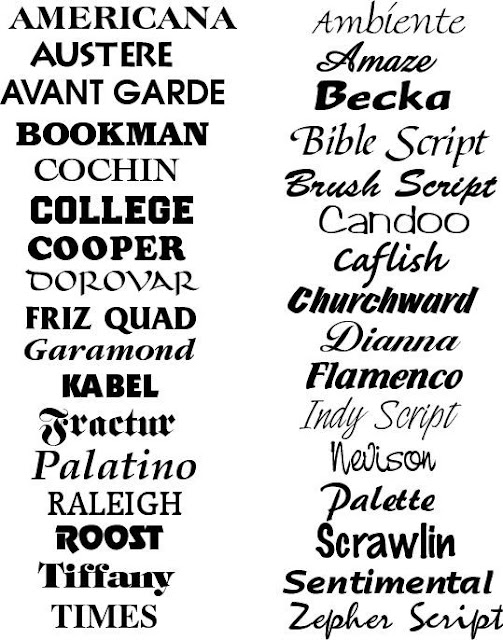
While the tools were everywhere, most sessions and conversations focused on the essential skills enhanced with EdTech. Most sessions I attended were about helping students build what we sometimes call “soft skills, instead of a race through the tools. The 4 Cs of collaboration, communication, critical thinking, and creativity were everywhere. Throw in a dash of curiosity and some problem solving and we had some great recipes for learning.

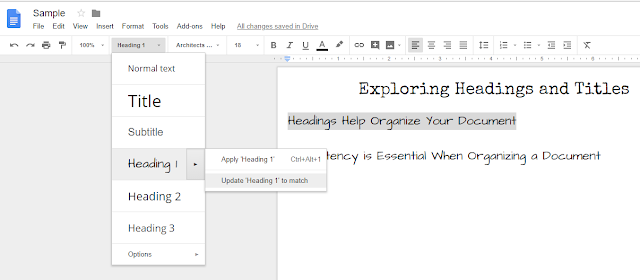
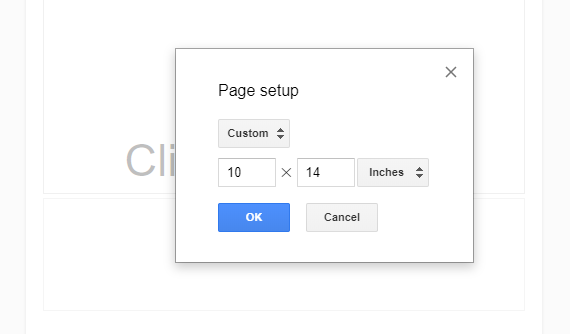
If you know me, you know I love to create. I have a few things that I am still working on that I will be sure to share in the future, but I was able to finish up a Google Drawing Project with Matt Miller in his 5 Brain-Friendly Google Drawings Activities Session that I would like to share.

Need more Google Awesomeness? Check out the Google Smackdown Presentation by Matt Miller, Kasey Bell, Eric Curts, and Vicki Davis.

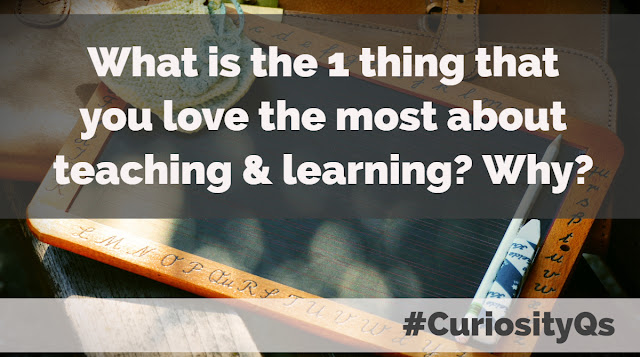
Have a top takeaway from the conference? Please share it below.

Tuesday Tip of the Week - Customize Titles and Headings in Google Docs

Last week I shared a tip about Setting Your Default Font in Google Docs. This week I am going to share a quick tip to set customized Titles and Headings in Google Docs. 

When I am creating a HyperDoc or Tutorial in Google Docs, I love having some consistency in any Titles and Headings for that particular doc. Here are two samples where I've tried to model this idea.

When I am working in a document like the ones above that have multiple headings or titles I prefer to save a little time and set some headings that I want to use throughout the document right away. It is a great and quick way to have consistent font styles and sizes throughout a longer document. 

The process is pretty simple. Here are the steps.

1. Create a title or heading and set the font style and size.
2. Highlight the title or heading text that you want to use throughout the document.
3. Click on the Dropdown arrow next to "Normal text" in the edit menu.


4. Scroll to the Title or Heading you and click on the arrow. 
5. Choose "Update . . . to match" and you've now saved that Heading or Title as the new default for the document. 
6. If you open the menu again, you will see that the Heading Title now matches the new font.

7. You can now use the drop-down menu to type in any of the default fonts you've created. You can also highlight existing text and change the font using this menu. 

You can also set default Titles and Headings across your documents following the same tip as last week. 

Next week I will share a bit about how tables can be used to arrange images and text in a Google Doc. 

Building a PLN - Twitter QR Code Tip

I had a great conversation with several of my PLN friends during the ICE Social at #ISTE18. We had talked about building a PLN and getting connected on Twitter. Thanks to Don Sturm (@SturmDon), Mia Gutsell (@msmgutsell), and Robert Louie (@mr_middle_2) for inspiring this quick post.

Did you know that you can share your information using the Twitter App on a Mobile Device using a QR Code? You can also scan someone's code all within the mobile app. You don't have to do anything to set this up, you just need to know where it is.

1. Open the Twitter app on your mobile device.
2. Click on your avatar near the top right of the screen and you should see this menu.


3. On the bottom, you should see a half moon, a pattern of 4 symbols (this is the QR Code), and the home button. Click on the QR Code and this screen will open. 


4. That image above is my code. You can test it with your mobile app if you open this on a different screen. Follow the same steps if you want to scan someone's QR Code. Just click on the expand symbol at the bottom and the scanner will open up. After scanning you will get the option to follow.


If you need a bit more help check out Twitter Support for QR Codes.

Happy Connecting! 

My ISTE 2018 Sessions and Resources


We are hoping that everyone attending ISTE has a chance to share their voice using our Flipgrid Share Your Why Grid at least once during the conference. There are a variety of topics and we'd love to see this become a great place for educators to share ideas and make global connections.

Flipgrid - Share You Why! 
(Password ShareYourWhy)

The wait is finally over and ISTE 2018 is here! I am excited to be sharing and learning with so many incredible educators. Today I want to quickly share my sessions resources, notes, and schedule.
If you are looking for some ISTE Tips and Resources, here are a few posts I've shared during the last couple of weeks connected to ISTE.


If you are at ISTE, I hope you can stop and say hello. If you are #NotAtISTE, I hope there is something above that you can use. 


Curiosity Question of the Week - ISTE Edition: What Do You Love Most About Teaching and Learning?

Last week's question had some great responses! Thank you, everyone! If you didn't have a chance to respond it is ok to do so now!
You’ve won a contest and your complete wardrobe will be provided and updated for the next 10 years. The catch is you are only allowed to choose 2 colors. That's two colors for everything you wear for the next 10 years. Which 2 colors would you choose to wear every day? What does your color choices say about you?

This week's question is dedicated to the incredible educators attending the ISTE Conference next week.

What is the 1 thing that you love the most about teaching & learning? Why?

Please share your answer and your why in the comments below or using the Hashtag #CuriosityQs. Please also share with the #ISTE18 Hashtag this week. Each Tuesday I will share a new question that I hope will inspire you to share your thoughts and maybe explore something new. 

You can also share in our Share Your Why FlipGrid this week. 


(Password: ShareYourWhy)

If you have a great question that I can ask, please DM me on Twitter. Full credit will be given for all questions that I share that are not my own.


Share Your Why! - Flipgrid Connections

We are hoping that everyone attending ISTE has a chance to share their voice using our Flipgrid Share Your Why Grid at least once during the conference. There are a variety of topics and we'd love to see this become a great place for educators to share ideas and make global connections. 

(Password: ShareYourWhy)


Tuesday Tip of the Week - Setting Your Default Font in Google Docs

Last week I shared a tip about Page setups in Docs and Slides. This week it will be all about setting the default font for your normal text.

The default font for Google Docs is Arial. and the default size is 11. 

Neither of these is a favorite of mine and I really hate changing these everytime I create a new document. I've changed my default font for all new documents. Right now, I've set my default font to Open Sans and my default size to all 12. I like change so I can't say that I won't change to something else soon. (I was a Georgia guy before I switched to Open Sans.)


Here are the steps to set the default font for all your Google Documents in the future. (This will not automatically change existing Document fonts.) 
  1. Create a new document or go into a current document with the formatting you want.
  2. If it is a new document, set the font and size in the editing menu. Type a sentence with the new font settings. 
  3. Highlight some text that is set up with the font you want to set as your normal default. 
  4. Go to Format > Paragraph styles > Normal text.
  5. Select "Update 'Normal text' to match."
  6. Next, go to Format > Paragraph styles > Options.
  7. Select "Save as my default styles."
  8. You can also follow the same steps if you want to set default Title and Heading styles. 
Next week I will share how to set your normal text, titles, and heading styles so that they match throughout a document. 


ISTE 2018 Collection of Tips and Tricks

I have shared a few posts connected to ISTE 2018 over the last several weeks, including ISTE 2018 Tips and Tricks, The Awesome Session Facilitators at #ISTE18, and The ISTE Experience - Exploring The Expo & Connecting with Exhibitors
Now the really good stuff is here for me to share and for you to explore. I hope there is something here for everyone. ISTE is an incredible is sometimes overwhelming conference and appreciate all that everyone is sharing to help make it a great experience. 

I've scoured the social media and the world wide web to bring you some of the best tips and tricks I've found connected to this year's ISTE Conference in Chicago. Here are some of the highlights of my exploration. 

If you are not following the incredible educators connected to these posts, you should be! 
Here are some of the highlights of my exploration. I am sure I have missed some great posts, ideas, and resources, so please leave me a comment below or send a message on the twitter and I will update this post on the fly with new resources.


Thank you, ISTE (@iste) for sharing some great posts and tips connected to the conference.

Thank you, Holly Clark (@HollyClarkEdu) for sharing her top 10 tips for ISTE 2018.

Thank you, Penny Christensen (@Pen63) for sharing a post listing some incredible educators who should be part of everyone's ISTE experience. She also has a great post about not sucking at ISTE!

Thank you, Hapara (@hapara_team) and Kelli Lane (@kelliupgraded) for these great tips for beginners and ISTE veterans.

Thank you, Common Sense Education (@CommonSenseED) for sharing some great tips for anyone attending a huge educational conference.

Thank you Pear Deck (@PearDeck) for sharing a diverse set of session recommendations. I think some of the best conference experiences I've had were connected to a wide range of different sessions and presenters.

Thank you, Henry Blatten (@Henry_Platten) for sharing one of the most creative posts I've seen this year. Henry has put together an ISTE Bingo card challenge to see who he can get a selfie with this year.

Thank you, Otus (@Otus) and Eric Patnoudes (@NoApp4Pedagogy) for sharing 10 great tips to help everyone make the most out of ISTE.

Thank you, Edublogs (@edublogs) and Kathleen Morris (@kathleen_morris) for sharing some great tips and resources for everyone who can't be at ISTE this year. This is also a great resource if you are attending.

Thank you, Patricia J. Brown (@msEdtechie) for sharing a great list of Do's and Don'ts for educators attend this year.

Thank you, Book Creator (@BookCreatorApp) and Dan Kemp (@KoinoniaWeb) for sharing some incredible session recommendations.

Thank you, Jerry Blumengarten (@cybraryman1) for putting together another great set of resources for ISTE. You will be missed this year. I hope your wife is recovering well.

Last, but not least thank you to the whole ICE Conference Team (@ice_il) and Amber Heffner (@amber_heffner) for organizing the conference and sharing a list of incredible Illinois educators presenting at ISTE this year!

Thank you, Jenny Magiera (@MsMagiera) for sharing some of your favorite restaurants in Chicago.

Thank you, eSchool News (@eschoolnews) and Laura Ascione (@ESN_LAURA) for some great last minute tips for the conference. 

Thank you, Katherine Goyette (@kat_goyette) for sharing some great ideas about finding your why before, during, and after the conference.

I love it when a PLN comes together, thanks everyone who has shared so many great tips and ideas. High fives all around this year if we connect at ISTE.


Curiosity Question of the Week - What Colors Would You Choose If There Were Only 2?

Last week's question had some great responses.

If you were able to share one thing that is an essential component of you being you, what would you share? What makes you, uniquely you?

This week's question may not seem as deep on the surface, but you may need to take some time for to consider to how your choice impacts the impressions you will make on the world around you.

You’ve won a contest and your complete wardrobe will be provided and updated for the next 10 years. The catch is you are only allowed to choose 2 colors. That's two colors for everything you wear for the next 10 years. Which 2 colors would you choose to wear every day? What does your color choices say about you? 

Please share your answer and your why in the comments below or using the Hashtag #CuriosityQs. Each Tuesday I will share a new question that I hope will inspire you to share your thoughts and maybe explore something new.

If you have a great question that I can ask, please DM me on Twitter. Full credit will be given for all questions that I share that are not my own.


June Book of the Month - The Growth Mindset Coach by Annie Brock & Heather Hundley

The best educators are not content to do the same old thing year after year. Innovative educators push their thinking by engaging in social media, exploring blogs, attending conferences, and exploring the newest generation of educational books.
We've created a site to organize and share some great books connected to teaching and learning. Each month we will feature a new book from our PLN. Have an idea for our next book of the month? Please share in the comments below.

Created by teachers for teachers, this is the ultimate guide for unleashing students’ potential through creative lessons, empowering messages and innovative teaching. The Growth Mindset Coach provides all you need to foster a growth mindset classroom, including:
  • A Month-by-Month Program
  • Research-Based Activities
  • Hands-On Lesson Plans
  • Real-Life Educator Stories
  • Constructive Feedback
  • Sample Parent Letters
Studies show that growth mindsets result in higher test scores, improved grades and more in-class involvement. When your students understand that their intelligence is not limited, they succeed like never before. With the tools in this book, you can motivate your students to believe in themselves and achieve anything.


Tuesday Tip of the Week - Page Setup in Google Docs and Slides

Last week I shared a tip about Outline View in Google Docs. This week it will be all about page setups for Docs and Slides.

Creating a HyperDoc, Tutorial, or other activity using Google Docs? Maximize your creative space with Page setup. 
Did you know that you can set the margins and page size in Google Docs to maximize the space you have on each page? My default Page setup for Google Docs is Paper size 8.5" x 14" and margins are all at 0.2. (Some people go 0 on the margins but I like a bit of an edge on my docs.)
You can find the "Page setup" options in the "File" menu in Google Docs. You can get help here or by watching this quick video tutorial

Bonus: You can still print the page if needed. Everything is automatically shrunk to fit the page size you are printing. 

Google Slides is a great presentation tool, but it is so much than a presentation tool. Slides is a great resource to create memes, infographics, and more. 
When creating more than just a presentation, changing to a custom Page setup can really change how one works in Slides. I love Square slides for Memes and I often go 10 x 14 when we are creating infographics with slides. 


You can find the "Page setup" options in the "File" menu in Google Docs. You can get help here or by watching this quick video tutorial

How would you use different Page setups in your classroom? 

Developing a Future Ready Classroom With the 4 Cs - Free Flipped PD Opportunity

The skills connected to collaboration, communication, critical thinking, and creativity are essential for all students. The best classroom activities engage students in content while providing opportunities to practice the 4Cs in learner-centered environments.

The best professional development also models the 4 Cs for staff. We've created a free flipped PD HyperDoc to connect educators to 4 Cs resources and experiences. Let us know what you think in the comments below. 


Share Your Learning Experience
Learn something new? Have a resource to share? Maybe a question? Please engage in the conversation using one or more of these resources.


Curiosity Question of the Week - What Makes You Unique?

"Embrace your uniqueness. Time is much too short to be living someone else's life." Kobi Yamada

4 weeks ago I got rolling with a curiosity question of the week. You can learn more about my why in this post

Last week's question had some great responses. 


If you could only choose one television series box set to watch during this time, what would you choose? Why?


Here is this week's question. I am hoping we can all dive a bit deeper into what makes us unique. 


If you were able to share one thing that is an essential component of you being you, what would you share? What makes you, uniquely you?


Please share your answer and your why in the comments below or using the Hashtag #CuriosityQsEach Tuesday I will share a new question that I hope will inspire you to share your thoughts and maybe explore something new. 

If you have a great question that I can ask, please DM me on Twitter. Full credit will be given for all questions that I share that are not my own. 


Spoiler Alert 
I usually wait a few days to share my thoughts, but I needed this quote in the post. This is all subject to change.  May all your summer days be curious ones. 


Tuesday Tip of the Week - Outline View in Google Docs

Many people insert a table of contents when working with larger Google Docs. This can a great way to provide viewers with an overview of the document and help them get to where they need to be, but there are a few drawbacks.
  • The table of contents sometimes eats up too much valuable space on the first page of the document.
  • The table of contents is only visible on the first page and the creator either needs to create a link to return to the table of contents in the document or the viewer needs to scroll back to the first page to access the table again.
For these two reasons, I prefer the document outline feature. The outline opens in the space on the side of the document and remains open as you scroll through the resources. The document outline can be accessed in the view menu and like a table of contents, it is connected to headings created in the document. 
  • You can learn the in and outs of the document here
  • Google also has an excellent help video embedded in Docs. 
  • If you curious about Document Outlines, I would recommend opening one of your existing documents or creating a new Doc to explore document outlines. I also have two samples you can view but not edit below. 


Popular Posts